
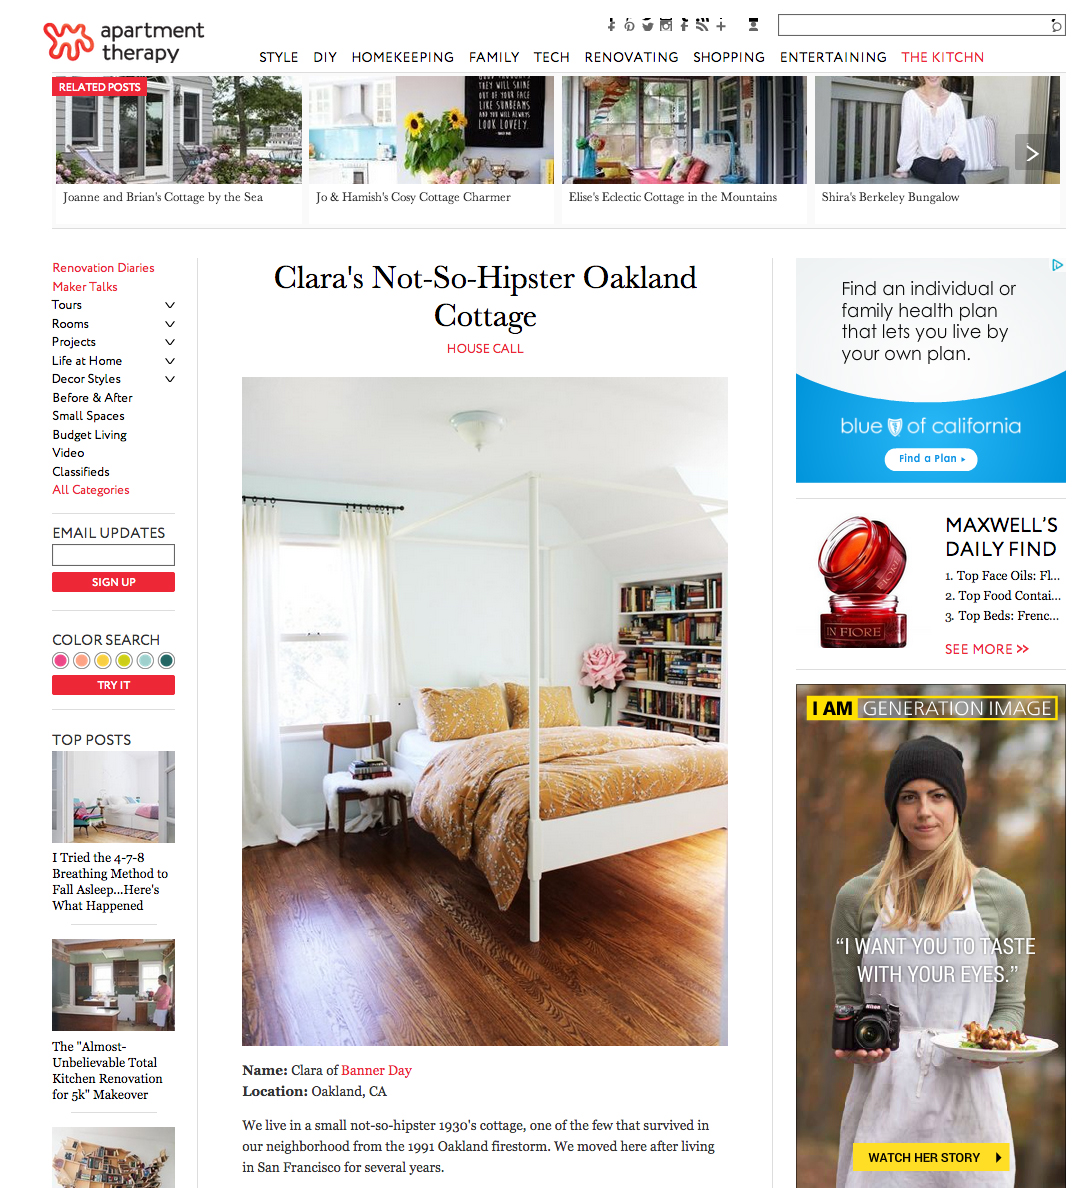
Monday was like any other day except the work of Banner Day was published in the oh so fabulous Apartment Therapy! Read all about it here.
Sitting Pretty in Pac Heights
During college, and even after, many of us live with roommates. Nowadays, with high rents, living with roommates in big cities is common for adults of all ages. So when you finally get to move into your own place, it feels amazing, a true life milestone. A client hired me to help style the first apartment that was ALL hers. I jumped at the chance to transform this new home into her private sanctuary. Since she works long hours, I wanted to make sure that her home was serene and beautiful so it would feel perfect for the time she gets to spend there.
Despite the frenzy in the SF rental market, this client was able to obtain an amazing, sun-filled apartment in the absolute center of Pac Heights. The apartment has all the traditional SF features, from the high coved ceilings and large windows to the original hardwood floors. However, the space has its challenges, with a smaller living room and kitchen and a bedroom with a limited layout.
On to the transformations! Here is the before of the living room. Excuse the poor lighting, it was an evening initial consultation.

A cozy living room. The client had ordered a sofa before hiring me, but she found it to be uncomfortable. I was able to negotiate a return with the vendor despite it being past the return date! A small victory. We chose a comfortable, gray, velvet sofa that would also do well in a bigger space if she were to move in the future. The coffee table is larger than what I might otherwise choose for the sofa size. But since this living room would also be the dining area, a large coffee table was a must. And here it is.

It's polished, bright and sophisticated. You can easily add additional seating for friends with some extra floor cushions. The mirrored lucite tray does double duty by keeping the remotes and other miscellaneous items contained and providing some extra bouncing light with its reflection.
We also replaced a console table with a credenza. The console table was perfectly functional, but lacked the storage that the client needed.

Here is my favorite part of the apartment. If the client moves in the future, the storage credenza can be repurposed as a media console. I've been hoarding that elevated beaker vase and the Mr. and Mrs. containers for a long while in my accessories closet. I could think of no better home than this bright little space.

Next, the bedroom. The bedroom is quite large, but with only one full wall, furniture placement was difficult. Further, the client wanted to incorporate a workspace and a reading nook. A tall order. Here again is the before.

Because of the great natural light the bedroom received from the south-facing windows, I wanted to make sure we kept the space bright and airy. We were able to fit in a work station which doubles as a nightstand. As sometimes happens, we had to sacrifice the client's other wish - a reading nook - given the limitation on space. But we were able to accomplish everything else.

And last but certainly not least, the kitchen. The kitchen is petite. The client doesn't cook very often at home, but the kitchen still had to be functional. There was absolutely no counter space, so we had to make some. We also needed to address the lack of natural light in the kitchen. Here is what the kitchen looked like before.

Unfortunately I can't make rooms bigger, or create sunlight! But there are creative ways to bring brightness into even the darker corners of your home. Mirrors are always a good way to bring light in. I know it's not intuitive to put a mirror in the kitchen, but it definitely can work.
See below for the beautiful transformation!


Such a cheerful kitchen. The kitchen island is easy to keep clean with baskets for storing fresh produce, and the wall-mounted shelf is ideal for herbs, oils, and other kitchen necessities. Don't you agree that the mirror makes the room brighter?

This project was so much fun. It brought back memories of my own very first apartment in Los Angeles. Most of us will likely live in many different homes of all shapes and sizes throughout our lifetime, but you will always remember the first home that was all your own. I'm really grateful to this client for trusting me to help her furnish her first home with only her name on the mailbox!
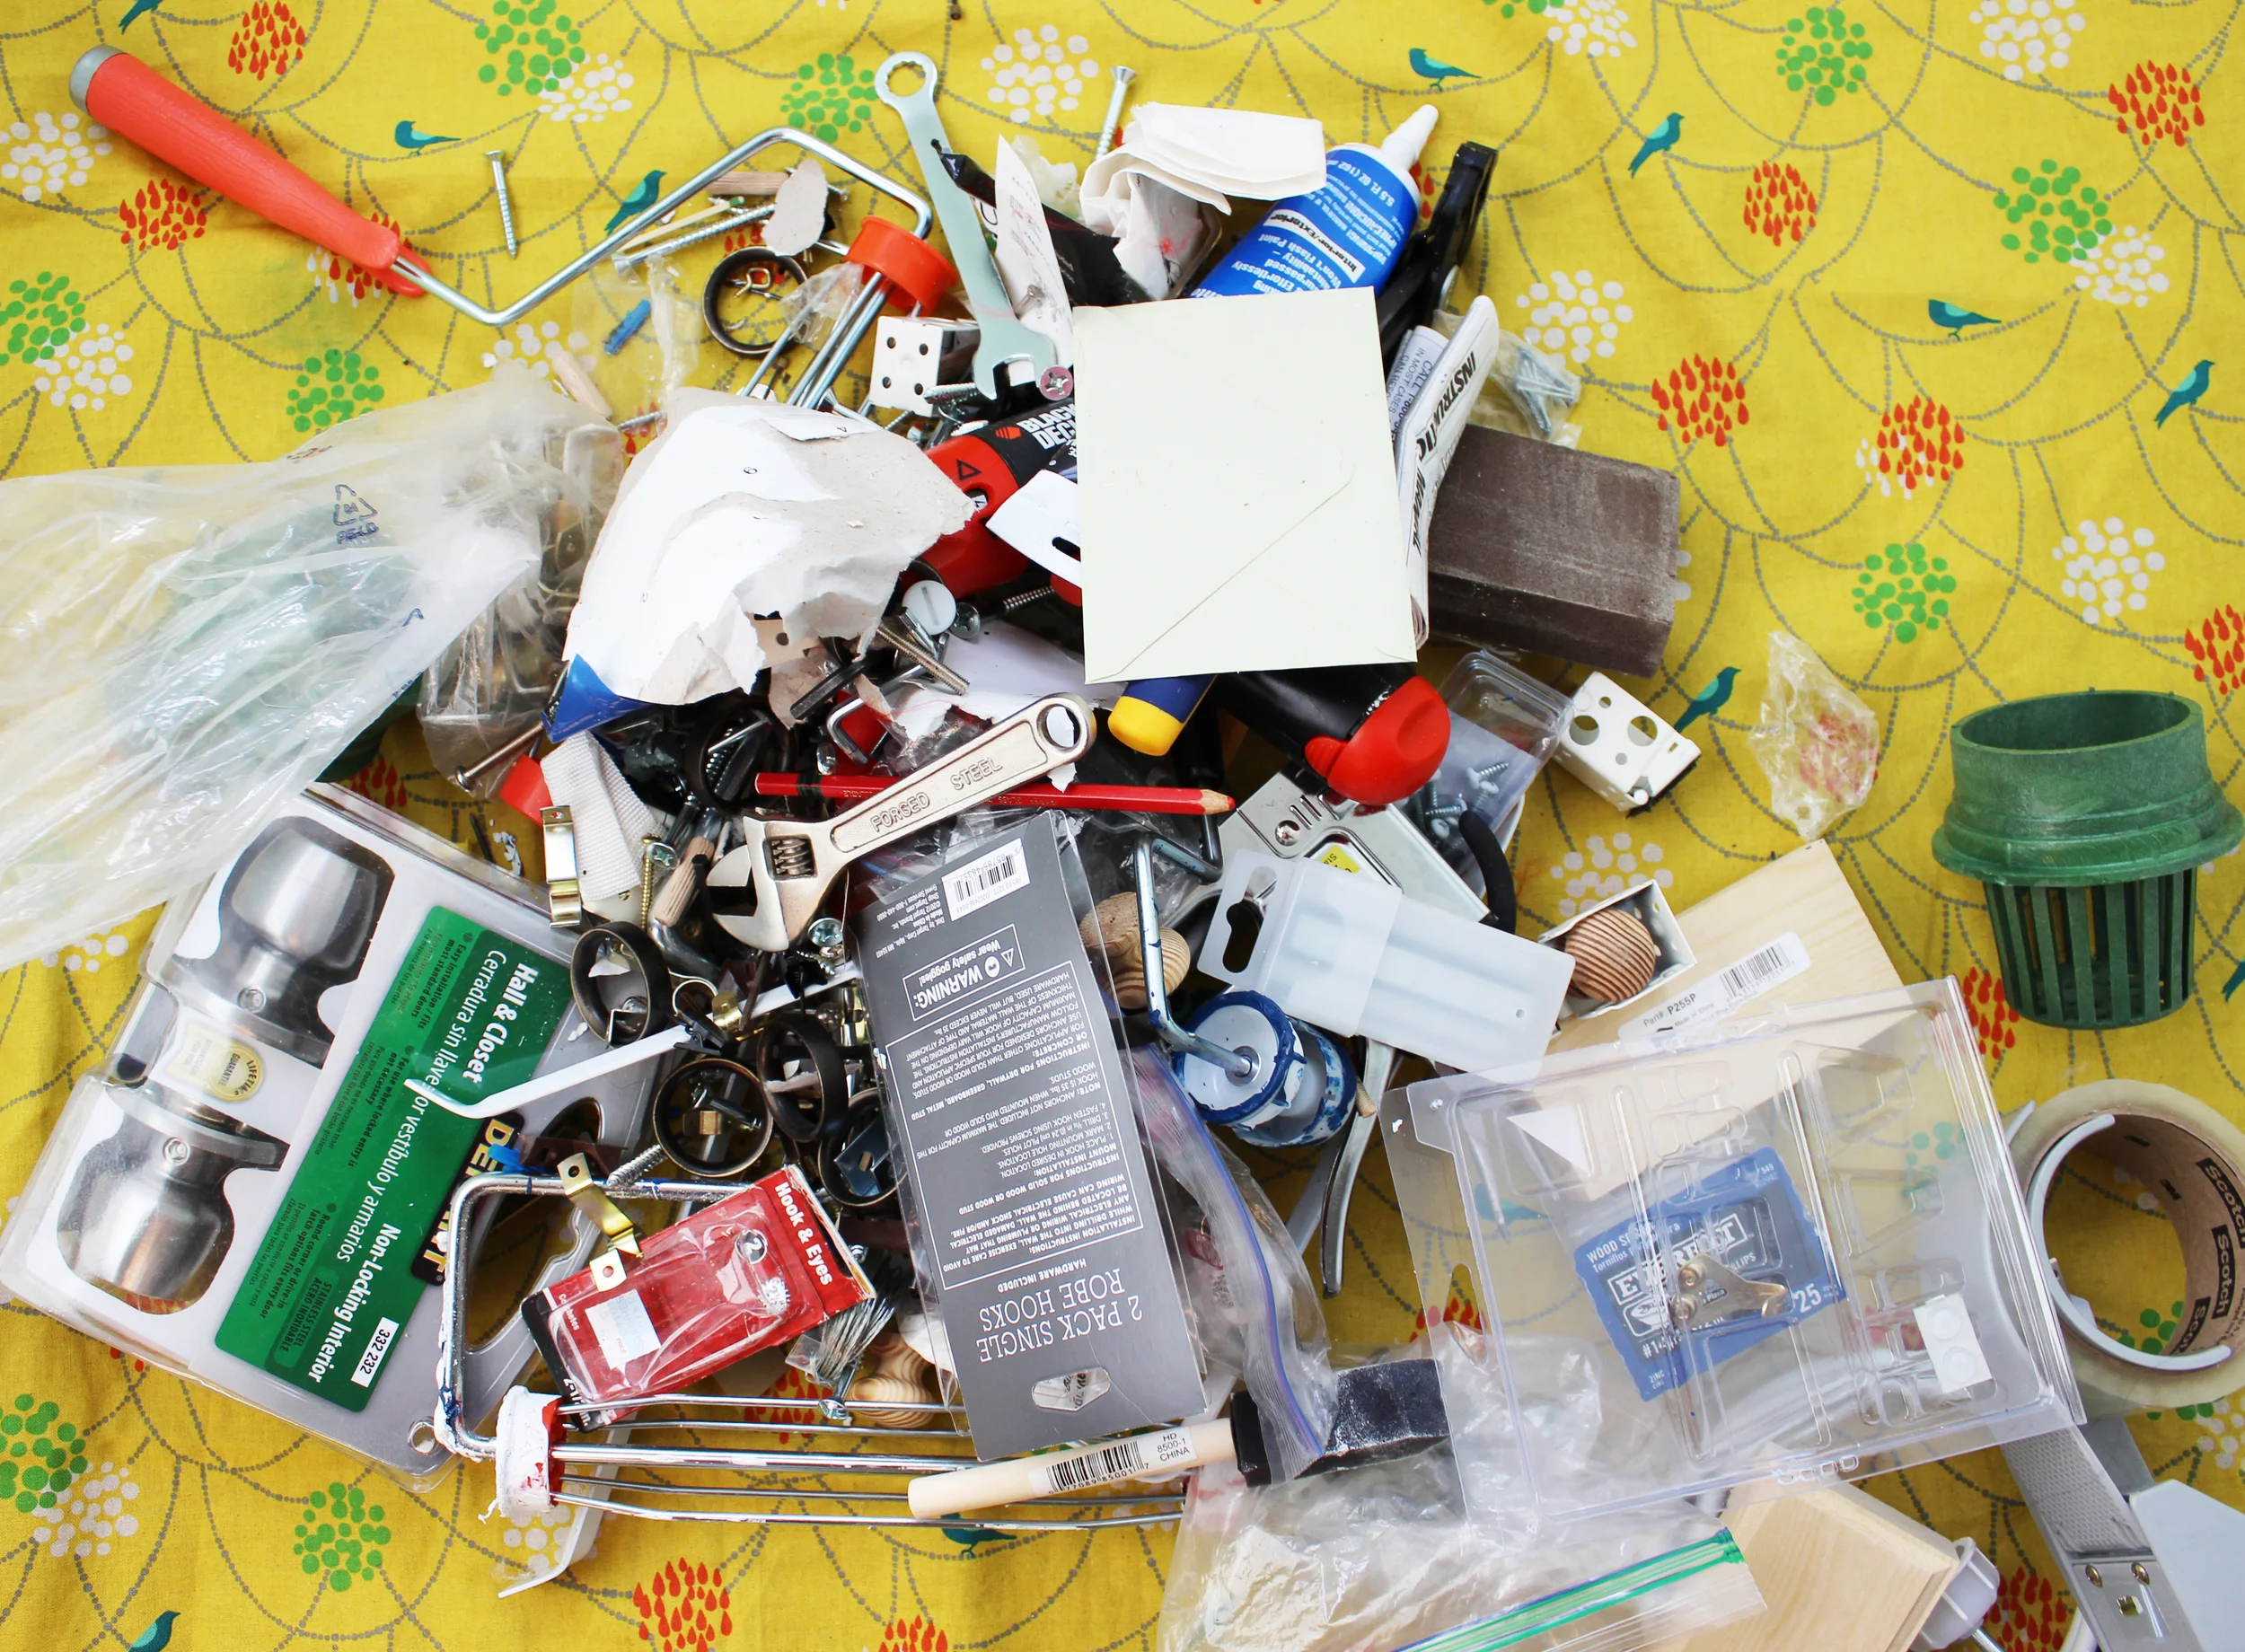
Who says a toolkit can't be both organized and stylish?!
Whether you rent or own a home, a well-organized tool kit is a must. Without one, what often happens is that you have a random assortment of screws, nails, hanging hooks rolling around in several drawers in your home. And let's not forget the million Ikea allen wrenches you probably have collected over the years, but none can be found when you actually need to tighten some furniture. Corralling all the random hardware and tools in one place is a great way to be ready when minor home emergencies arise. I can promise you that you can probably do this with everything you have at home, and in less time than in takes to watch your favorite reality TV show or better yet, why not multitask and do it while you are indulging in your favorite guilty pleasure?!
STEP 1. COLLECT
Go around and gather all the random hardware, tools, etc. in your home. Set down a towel or blanket to keep everything in one place and pour it all out!
STEP 2. EDIT
Go through this big mess and start throwing things out you know you won't need. Then start segregating like things with each other, paint stuff in one pile, screws in another pile, you get the picture. And pro tip? Those plastic take out containers you have in your kitchen are perfect for storing screws, nails, and other hardware items. See below!

STEP 3. LABEL
After you've collected everything, label those containers so next time you're doing a gallery wall, you can quickly grab that container labeled "nails" and a hammer without having to dig around for both! Decorative labels make it more fun, but even a strip of painters' tape will totally work.

STEP 4. STORE
For larger unwieldy items such as paint rollers, a good rubber band is a great way to keep them together and in one place as shown below. For everything else, storing items in a clear box is the perfect way to see what is readily available!

So before you put your feet up tonight, why don't you try assembling your own toolkit while you watch some TV? You already have the perfectly organized toolkit you say? How about your kitchen junk drawer? We all have one!